Pacifier clip FREE sewing tutorial

Here’s an excellent free tutorial on how to make a clip for a pacifier.
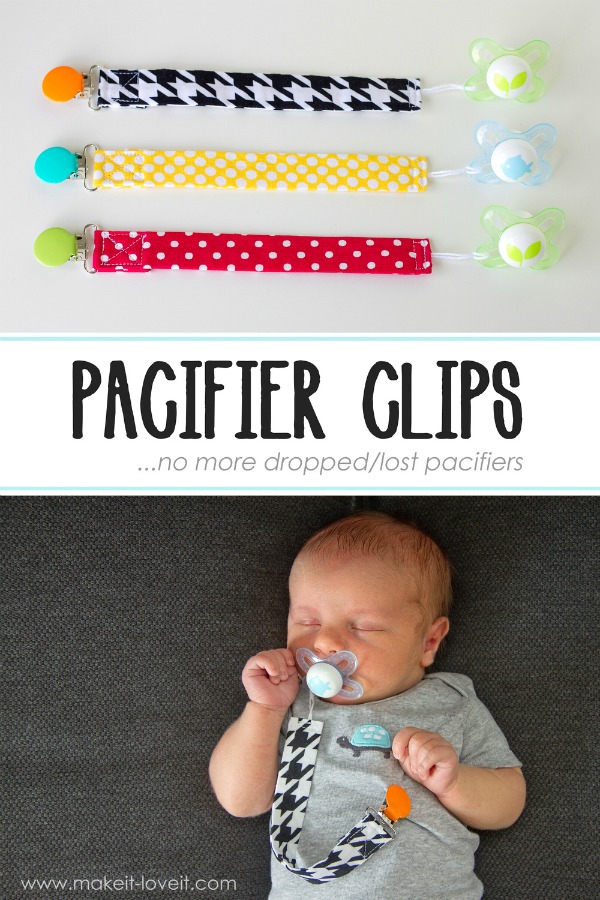
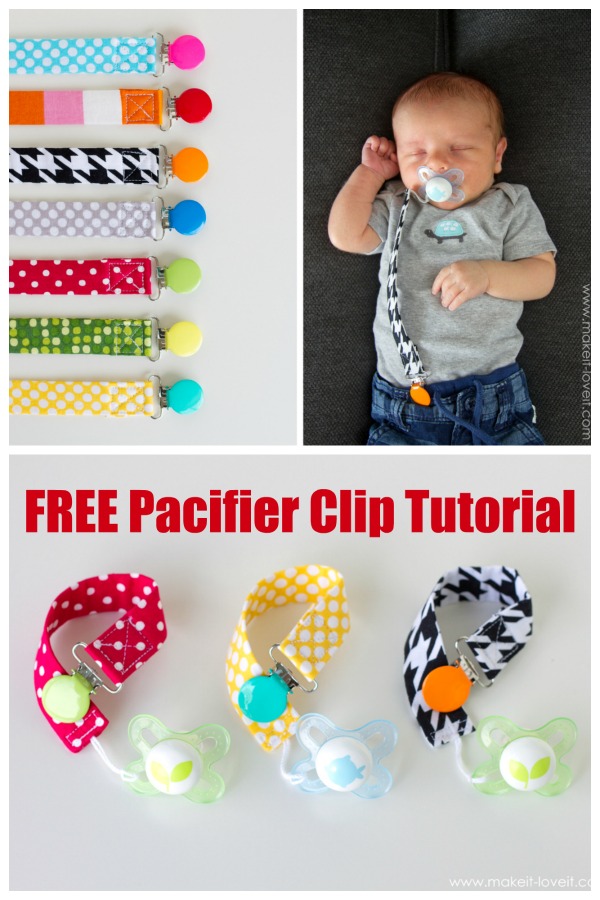
The construction is a really simple strip of fabric with a clip at one end and a string to attach to the pacifier, at the other end.
And the great thing is any type of pacifier will work with one of these clips because all you have to do is just place the loop of string through any hole or handle on your pacifier, then place the clip end through the loop, and then pull.
When planning and investigating her project the designer found some excellent colorful circular clips, which are nice and strong and which are baby-safe, for you to use when you make a clip or two of your own.
The designer says that these clips can be clipped anywhere for baby’s use, like on a car seat, on a bouncer, on your diaper bag, etc.
That way instead of those pacifiers falling onto the floor etc when they fall out of those little baby’s mouths those pacifiers will always stay attached and be easily accessible.

This is a really quick project to make for all sewers. Now you should grab yourself some lovely colorful fabrics and prints, along with a clip or two, and make yourself a really helpful and useful tool for baby.
What you will need to make a Pacifier Clip:
- A 2 1/4 by 9-inch rectangle of cotton fabric,
- A 2 1/4 by 9-inch rectangle of fusible interfacing,
- Heavy string (or 1/8 inch wide grosgrain ribbon),
- A 1-inch pacifier clip (Can be bought from Amazon or Kam Snaps),
- Basic sewing supplies,
- A sewing machine.
If you would like to download the pattern you can click on the light blue button below.

